Getting started with Esquio monitoring & diagnostics
In this article, we are going to watch an incremental sample to show how to use to use Esquio in your ASP.NET Core application.
Intro
Application Insights
> In samples/GettingStarted.AspNetCore.Mvc.ApplicationInsights you’ll find this example in ASP.NET Core.
An easy way to discover what is happening in our application is using ApplicationInsights.
First, install Microsoft.ApplicationInsights.AspNetCore package, typing the following command using the .NET Core CLI:
dotnet add package Microsoft.ApplicationInsights.AspNetCore
or using Powershell or Package Manager:
Install-Package Microsoft.ApplicationInsights.AspNetCore
or install via NuGet.
On the Startup`class, modify your `ConfigureServices method:
public void ConfigureServices(IServiceCollection services)
{
    services.AddControllersWithViews()
        .Services
        .AddEsquio(setup =>
        {
            setup.UseScopedEvaluation(useScopedEvaluation: true);
        })
        .AddAspNetCoreDefaultServices()
        .AddApplicationInsightProcessor()
        .AddConfigurationStore(Configuration);
}
> We set on the configuration ScopedEvaluation to use evaluation session, that is, to store feature evaluation results on the same execution scope. This ensures result consistency on the same scope. By default, a no evaluation holder is used and scoped evaluation results are never stored and reused.
To register ApplicationInsights telemetry and Esquio customized processor, we had just added the following extension:
.AddApplicationInsightProcessor()
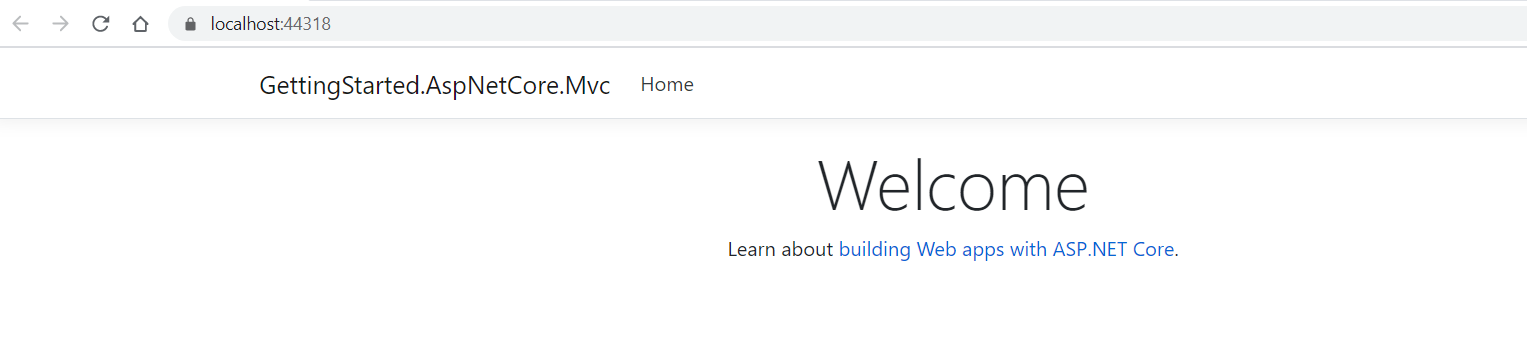
Open this sample and launch it. It will open a very simple Mvc application.
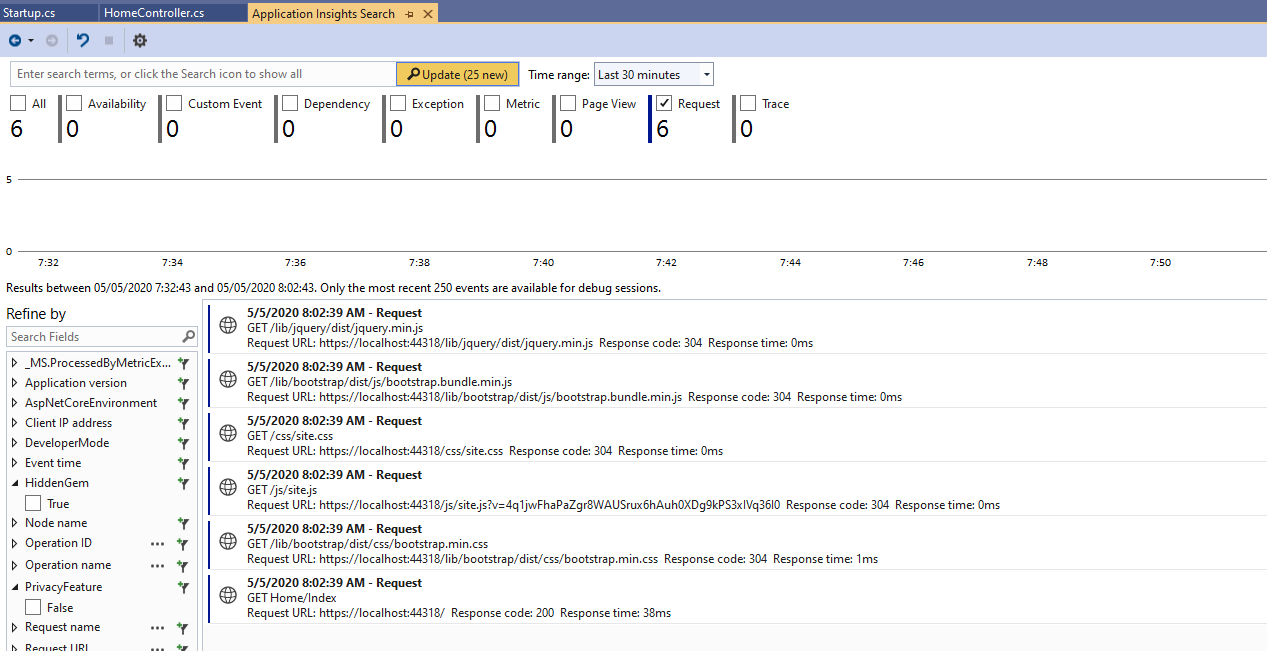
Let’s open ApplicationInsights watcher typing Application Insights Search on the Search field of your Visual Studio or clicking on View> Other Windows> Application Insights Search:

In this sample, we are interested on the Request, so select only this option and click on Update button:

On the results, same requests should be shown. On the left, among the fields to refine by, you can see HiddenGem and PrivacyFeature:
Let’s go to the appsettings.json, enable the PrivacyFeature:
"Esquio": {
  "Products": [
    {
      "Name": "default",
      "Features": [
        {
          "Name": "PrivacyFeature",
          "Enabled": true,
          "Toggles": []
        },
        {
          "Name": "HiddenGem",
          "Enabled": true,
          "Toggles": []
        }
      ]
    }
  ]
}
Launch the application and open Application Insights Search again. A new value for PrivacyFeature filter appears.
In this way, you can filter among all your requests showing only the request when PrivacyFeature is enable. This can be very useful on canary release to be able to detect undesirable behaviours.